Wednesday, March 15, 2017

Bull$%^&! - Arena Rex AAR

With a mind to keep moving on my 6x6 challenge, I offered to run some games of Arena Rex for the group. While I didn't get a chance to record one game (as I was too busy teaching the rules), Gary had played once before. 


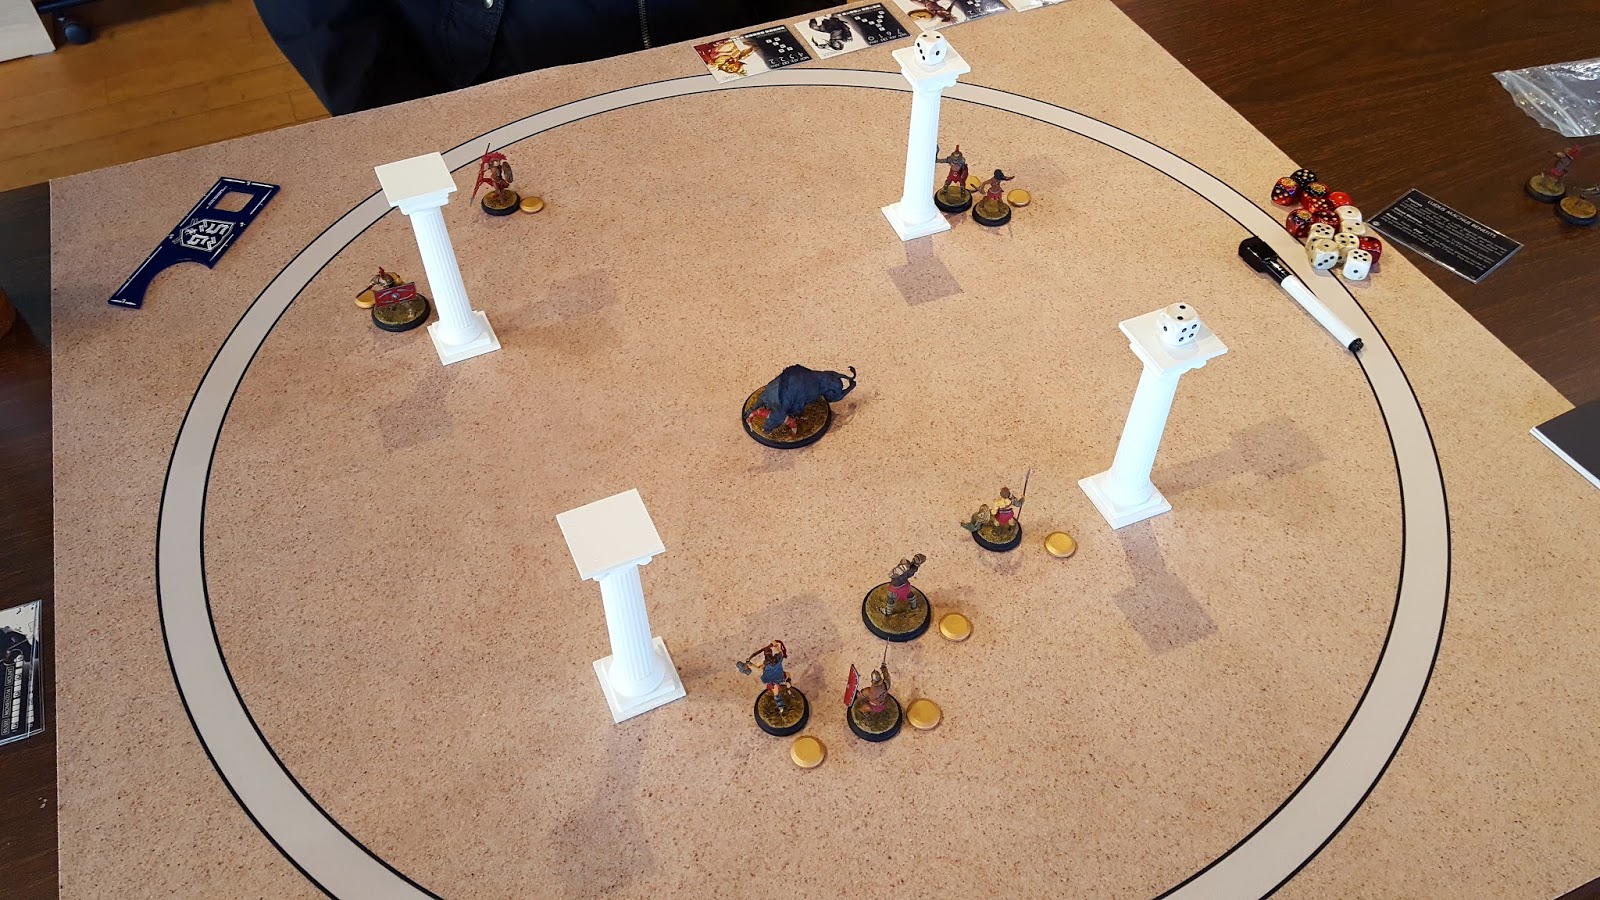
The arena was fairly simple in it's layout - four pillars, with Nero in the center as a living hazard. On a side note, I need to make/print some pits to help hem in some of the combat that tends to drift off to the side if there's a living hazard in the center of the table.


Gary's cohort consisted of Hermes, Septimus, Infelix, and Otho. Opposing them were Lupa, Urbicus, Otho, and Marcus. Gary started with initiative.


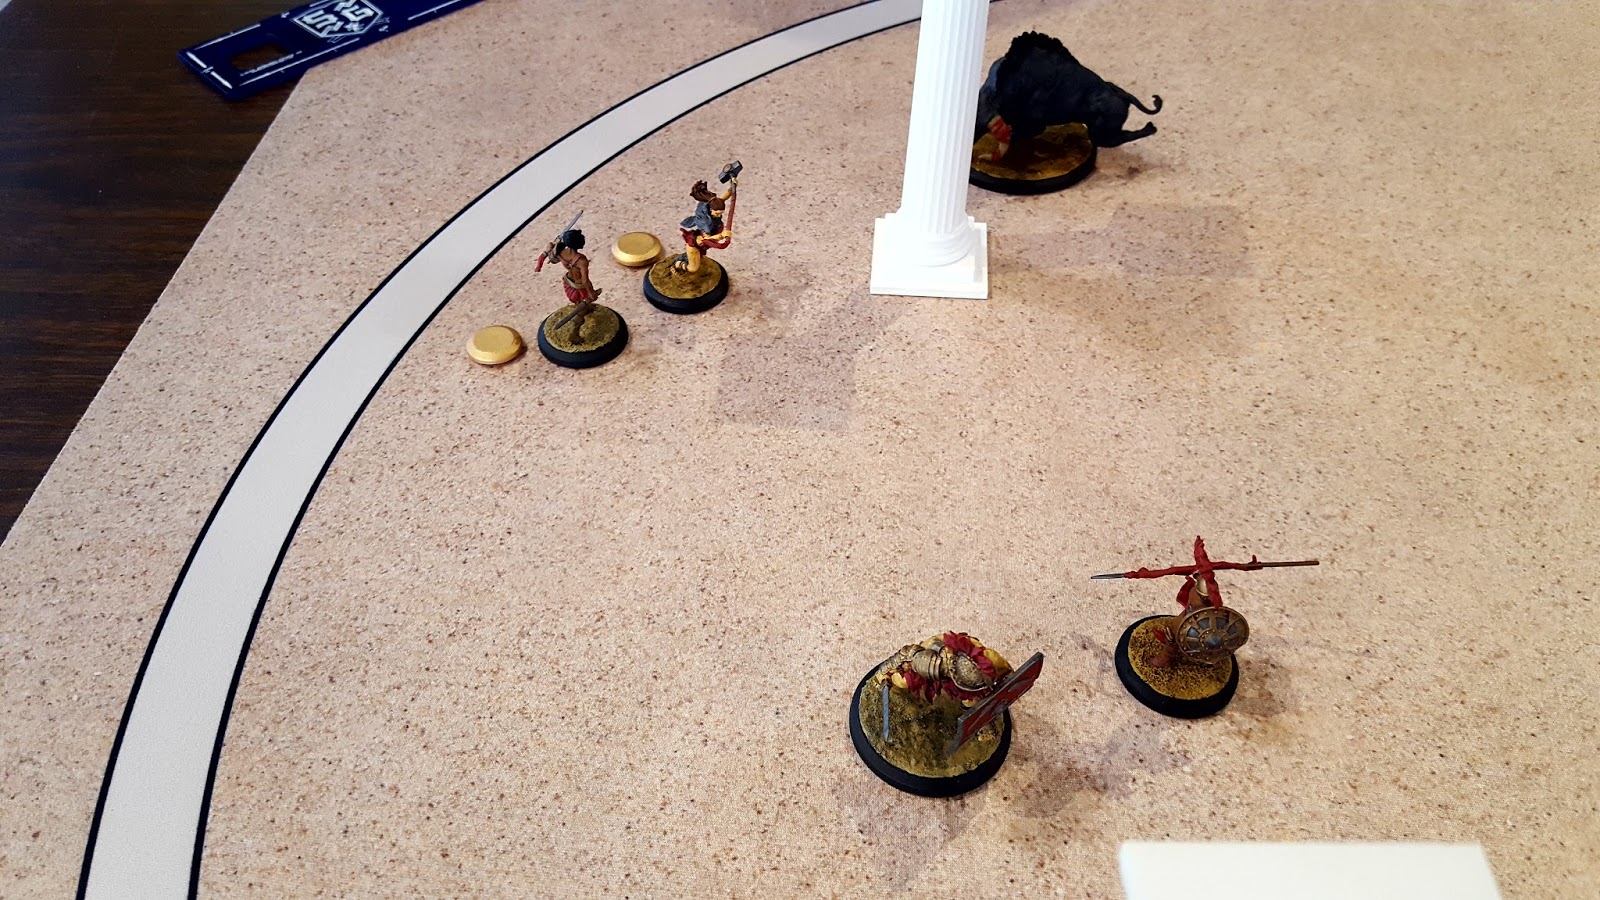
While Gary's cohort split into two groups, mine went straight into the center of the arena. Both side allowed fatigue to accumulate early to enter a clear turn and make use of the Ludus Magnus Rouse tactic. In my clear turn, I then use the Favor to Incite Nero, forcing the bull closer to Gary. But Gary did the same, pushing the living hazard back to near its starting position.


Both sides continued to shuffle around. Micon, however, headed straight for Hermes, looking to through the smaller man towards the enraged bull.


But after multiple attempts, Micon seemed unable to find purchase on Hermes, who was taking advantage of the poor dice to cut chunks out of the giant's flesh.


I forced my Cohort into another clear turn, and once again used the Rouse/Incite combination to move Nero closer to Micon and Hermes. Meanwhile, Urbicus and Lupa engaged with Otho.


Finally, Micon got his hands on Hermes, pushing the gladiator back far enough to catch the bull's attention! Hermes was gravelly injured by Nero's goring.


In a sudden reversal, Septimus strolled up and speared Micon. A single push was all Nero needed to launch a second attack, which removed Micon from the table. Worryingly, Otho was managing to hold off the rest of my cohort by himself, as Hermes retreated behind one of the pillars.


Looking to add to his tally, Septimus moved over and attacked Marcus, who had already been injured by Otho. A single strike was enough to remove a second fight from my cohort of the table. With no ready fighters, I was forced into a clear turn, though I spent a point of Favor to Incite Nero closer to the action.


Seeing a chance, I had Lupa break off from Otho and bash Infelix aside, and again used Incite to move Nero right next to the wounded Hermes.


Of course, I managed to forget that I had to spend Favor to attack Hermes - and I had spent my last point to move the bull! So while Hermes sat nice a safe, Otho and Septimus finished off Urbicus.


Lupa, the lone surviving member of my cohort, managed to finally hit and remove Hermes from the fight. Infelix strolled over, taking advantage of Lupa's fatigued state to get a strike in.


In a risky move, I tried using a power attack to deal a fatal blow to Infelix. But even with the re-roll, the dice failed me. Finally, Septimus came over and, with his own power attack against the exhausted Lupa, struck her down. The roar of the crowd announced victory for Gary's cohort.

Had I sacrificed a chicken before the match, I may have realized that luck was not on my side! But while the battle on the sand was lost, the war may go in my favor, as Gary's expressed interest in buying of the miniatures.

Wednesday, March 8, 2017

Vavoom City Tarts vs. Baltimork Corviks, Playoff Game - Blood Bowl AAR

With the League over, the top six teams were placed in the playoffs, and the Corviks were a part of that group. The first game was a rematch against the Tarts. 


I won the roll and chose to kick in the first half.


The tarts moved the ball up the pitch, but the Orcs' frontline managed to keep the ladies mostly off their side.


Seeing that chances were slim to get past the Orc line, the Amazon Catcher tried to hand off the ball. But the Troll interfered, knocking the ball to the ground.


The Corviks ignored the ball and decided to focus on the bashing game.


Trevor's disdain for statistics carried him through most of the turn, where he was able to retrieve the ball and dodge out of the Troll's reach. But the ball carrier tripped on a go-for-it.


The Corviks retrieved the ball, putting the boot in for good effect.


The Amazons tried to reposition, but one Linewoman failed to dodge and went down hard, knocking herself out.


The Corviks caged up, ready to grind up the pitch.


The Tarts spent a turn re-positioning, trying to block the Orcs' advance.


Not having any of it, the Corviks push forward, knocking another Amazon off the pitch.


The ladies fought back, trying to make a gap to get at the ball carrier.


Trying to get fancy, the Corviks tried a hand-off, but failed. A Lineorc managed to scoop the ball of the ground.


After another failed attempt to get the ball, the Amazons were scattered.


At the last moment, the Corviks moved in to score. Not learning a lesson from their previous attempt, the throw failed, and the ball was dropped.


The teams took a break for half time, then set back up with the Tarts kicking. The Amazons were down three players due to the brutal first half.

The Corviks caged up and started walking the ball up the pitch.


The Amazons took the opportunity to knock the Orcs about.


But the Corviks rallied, pushing over the line of scrimmage into the Amazons' half of the pitch.


The beatings continued as the Amazons looked for a chance to reach the Orc Thrower.


The Corviks' cage ground forward.


After several turns, only a few Amazons are left on the pitch, and the Orcs were in a position to score. 


A brave Linewoman attempted to reach the ball carrier, only to be held back by his escorts. 


Betting that they could stall for a turn, the Orcs halted just before the endzone, with a pair of Black Orcs marking the downed Amazon.

In their turn, the Amazonian warrior leaped to her feet, dodged away from the Black Orcs, and blitzed the Thrower... only to knock the Orc back a square, into the endzone!

At that point, the Amazons took a knee, calling the game as a 1-0 win for the Corviks.

Monday, March 6, 2017

The Nuclear Option - All Quiet on the Martian Front AAR

Gary, Carl, Bob and I decided to end the month with a big All Quiet bash, with the usual Martians-attacking-humans-in-trenches game. 


The Martians were a collection of Assaults, Scouts, Grenadiers, Slavers and Drones. The U.S. Army featured a wide range of steam tanks, infantry and artillery. Debuting for this game were Gary's defense towers, which acted as an immobile tank platoon.


Winning the initiative, the Martians used their command counters to shove as many Assault tripods up the table as possible. Their heat rays managed to destroy a tower and a single tank.


The humans responded with a roaring salvo. Two tripods went down, and the resulting explosions killed four more!


The destroyed Martian units helped the humans win the initiative. Another two tripods fell to the incoming fire.


Fearing the game would end too quickly, the Martians were allowed a reserves roll. So on came too more Assault tripods and a Scout to spot for the Grenadiers.


The remaining tripods advanced, with one out-of-control machine careening towards the human trenches. Heat rays lanced out and melted several more tanks, along with a second tower.


With the main tank battlegroup out in front of the trenches, the humans opened fire again for a devastating results - to both sides! Three more tripods fell, but the resulting explosions wiped most of the tanks and the remaining defensive tower.


After most of the human's firepower wiped out, the Martians continued their advance, melting most of the surviving tanks.


With so many units destroyed, the Martians won the initiative for the turn. Their long strides took them up to the trenches, but the fortifications allowed most of the infantry to survive.


Defensive fire from the remaining artillery units was unable to do much damage.


A lucky roll let the Martians go first again, and then tripods cleared the trenches, wiping out the unarmored artillery and remaining human command units.


Determined to not go down without a fight, the humans managed to take out two more damaged tripods before sounding the retreat. The Martians managed a victory, but at a steep cost. Out of the 23 tripods that took part in the assault, only 6 remained.

All Quiet continues to prove fun, especially when a Tripod goes nuclear and wipes out nearby units, both friend and foe. Gary's still working on putting together materials for future games, so expect to see some pretty impressive scenarios at some point.

Wednesday, March 1, 2017

Clash of Titans - Wrath of Kings AAR

Gary and I got together for some Wrath of Kings - my Shael Han against his Hadross.


We used the same terrain that Gary brought for the Retro Raygun demo. It's all aquarium decorations, which make for some decent and relatively cheap scenery. I need to look around for anything that may match my Shael Han.


We alternated deploying our forces:

My List (Shael Han, 10 Morale, No Confidence)
Dragon Legion Keeper (Commander)
Black Lotus
Big Sister
Dragon Legionnaire x8
Iron Lotus x4
Wrath x3
Shield of Taeflon
Hammer of Heaven
Fulung Devourer

Gary's List (Hadross, 9 Morale, Unstoppable Force)
Deepman Kaxes (Commander)
Gutter Friar x2
Deepman Guardians x6
Sevridan Gutter x6
Calith Reaver
Shell Cracker
Oresund Cavalier


Our two forces advanced towards each other during the first turn.


The fighting started on my left flank, as the Wrath and Lotus warriors clash with the Sevridans and Hadross specialists.


Combat between the two sides rapidly let to multiple casualties. However, the Hadross morale loss was huge, as Gary lost three points to my chosen motivation. Since I avoided touching his Leaders, he couldn't respond in kind.


While all of the Children and Lotus infantry were lost, along with the Hammer specialist, my two leaders managed to hang on. So the Black Lotus went on the offensive, killing a pair of Deepmen and causing Gary to lose another point of morale.


Gary tried getting rid of my Big Sister, but a set of poor dice rolls left her alive. The Black Lotus finished the game by killing another two Deepmen, removing the last point of Hadross morale. Shael Han won, with 7 morale remaining.

It seems that Shael Han is a challenge for Hadross. While they're easy to hit, none of the melee modifiers that Hadross possess (turning Armor and Blocks into Hits) matter to Shael Han. Hopefully that'll change as CMON come out with more units for the factions.