Wednesday, May 11, 2022

Highway to Hell, Part 2 - 'O' Group AAR

This past weekend, we continued the "Highway to Hell" scenario that Ted had left set up in his game room. 


We got through 7 turns of a possible 18 in the first part. The Germans had approached Voin with only a single stand lost, but hadn't managed to cause any damage to the Soviet defenders yet.  

John joined us for this game, so he took command of the Soviet T-34 platoons that Ted had brought on at the end of turn 7. 


In response, I called up the German's remaining anti-armor reserves - an 88mm and a platoon of Panzer IVs. 


One T-34 brewed up from the German fire. 


And as was expected, the Soviets concentrated their fire to quickly remove the 88mm from play before it could do any real damage. This had happened in a previous game as well. The iconic artillery piece is something of a fire magnet, and doesn't have a chance if it's not in a well defended position. 

Unfortunately, as the attackers, Steve and I didn't have much of a better choice as to its deployment. If we were playing again, I would maybe try to tow the gun into one of the small forests on the edge of the table, but I wanted the elevated range that the sides of ravine offered. 

In return, another T-34 was knocked out by the Panzer IVs. 


The standoff in front of Voin continued, with the Soviet mortars hammering the infantry platoons in the woods. A shot from one of the Soviet anti-tank guns destroyed a Panzer III. 
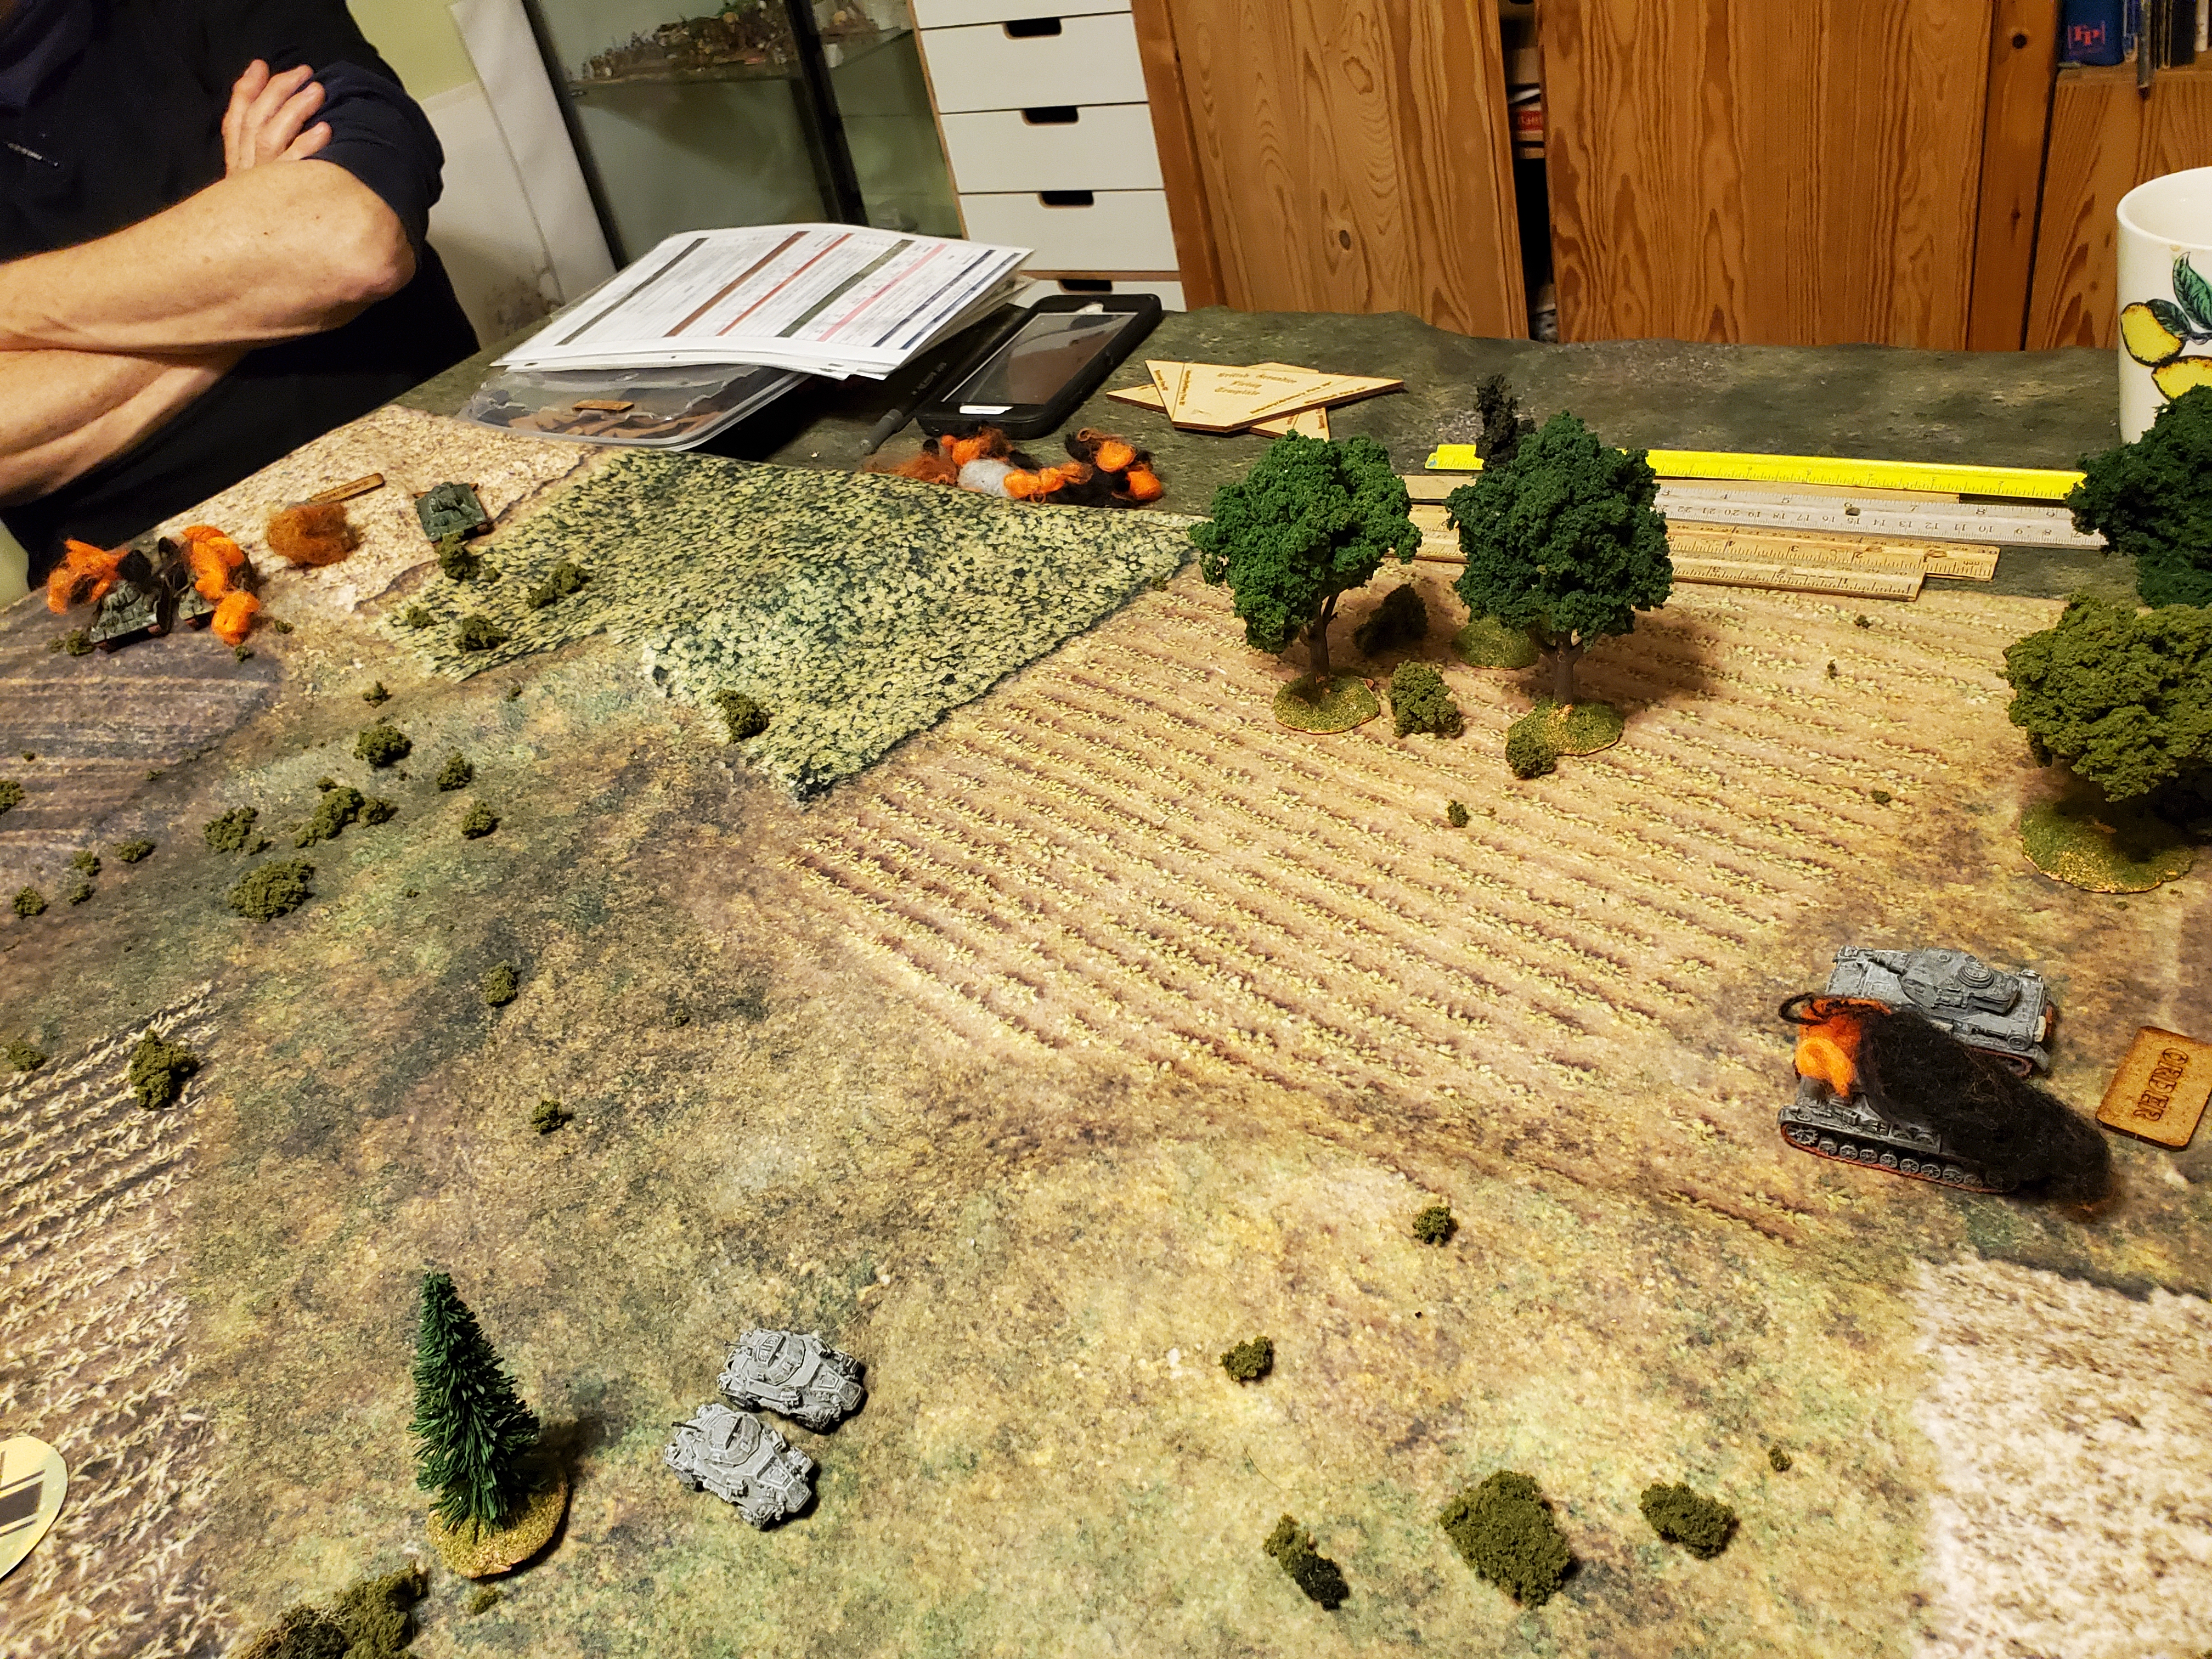

After what seemed like an incredible series of dice rolls, the Panzer IVs ran out of luck. There was only a single T-34 left, but the Germans lost a Panzer IV. 


And I lost my last Panzer III from some accurate fire from the Soviet defenders. From four tanks to just one in a couple turns! At least the Soviets were also quickly running out of armor. 


Or so we thought. As Steve moved his tanks forward towards the objective, a pair of BT-7s fired from their ambush position.


The light tanks weren't too much of a threat, however, and return fire from the Panzer IIIs knocked one of the BT-7s out. The second BT-7 didn't last much longer. 


Earlier, Ted had sent one of his company commanders out to try and give the T-34s more orders (CC's have an 18" command range). Not wanting to let such a valuable target go, I sent a platoon of 221's after him. With a 2+ save and my terrible dice rolling, I only managed to suppress the commander and couldn't kill him. While this still led to some 'command crises' events (a fun little guessing game that can result in HQ Order losses. 


At about two-thirds of the way through the scenarios, both sides were relatively battered. Both the Soviets and Germans had at least one FUBAR, reducing their Battalion dice. 


With the long duel between the remaining Panzer IV and T-34 ending with the German tank knocked out, Ted and John decided to focus on the 221 platoon, deploying a couple infantry platoons with attached anti-tank rifles to surround the armored cars. In response, I deployed one of my infantry platoons and returned fire. 


After a couple turns of exchanging fire, the Germans were worst off, losing an infantry stand and one of the 221s. 


And there were more losses on the other side of the battlefield, as the Soviets lost an anti-tank gun and some infantry, and the Germans had an infantry platoon reduced to a single section.

At that point we called it a night at the end of turn 15. The Germans had lost 8 sections and the Soviets had lost 9, so two FUBARs for both sides. In order to win, the Germans would need to remove three more sections from the Soviets in as many turns, otherwise the Soviets would win. 

We decided that the game ended in a draw, with a slight edge to the Soviets. While the Soviets were close to breaking, the German offensive was pretty much blunted, with much of its ability to attack removed with the loss of the tanks. If the Soviet infantry platoons fell back out of range of the German infantry, the Germans would need to advance into the open to try and remove those last sections; a deadly proposition in the face of the still well-defended Voin. 

Still, it was a fun game and a good scenario. I can see how it could have turned out differently in several ways; if Ted's delaying action had worked, or the T-34s or Mark IVs had survived. 

This scenario is, however, much like the basic scenario in the rule book (the "Assault on Cristot"), as it's an attack on a defended set of BUAs. Ted and I chatted about trying out a scenario somewhat inspired by the "Counterattack at Grainville" scenario in the Normandy '44 supplement, with a series of strung out, single BUAs that encourages the defenders to fall back, instead of starting them in a single defended area. We'll see if that's something that can be done. 

Wednesday, May 4, 2022

Highway to Hell, Part 1 - 'O' Group AAR

My first game in a month! 


I was back at Ted's place for another game of 'O' Group. Ted had used the scenario "Highway From Hell," which was in the 2021 Lard Magazine from TooFatLardies. Based on Guderian's attack up the Orel-Mtsensk road, this scenario see's two large battalions (German and Soviet) fighting over a strategic objective (the town of Voin) on the road to Moscow. 

The Germans win if they control both of the BUAs that make Voin, or inflict 3 FUBARs on the Soviets. The Soviets win if they hold any part of Voin after 18 turns and avoid breaking. 

Steve and I commanded the Germans, while Ted and Chip commanded the Soviets. 


The German attack started out well, with Steve and I moving our companies as quickly forward as possible. I managed to foil Ted's stalling tactic by rapidly moving into a thin line of woods at the end of a ravine before the Soviet Combat Patrols could enter. 

Steve hustled the German FAO into an adjacent woods to provide a good spot to call in artillery strikes from, along with an anti-tank gun.

With no Soviets in view just yet, a platoon of Panzer IIIs sat in reserve. 


The first of the Soviet defenders popped up in the BUA by the train tracks, and would persist in being a pain in the rear for the German left flank.


If you'll ignore the Soviets just out of the woods (a bit of jumbled misreporting from some scouting infantry), the German center and right companies were lining up to advance on Voin, as I directed some CPS around the open field to the right of the town. 


After the German battalion mortars bungled their opening salvo, Steve called in the second Panzer III platoon to try and crack the Soviet train-station nut. 


As the rest of the Soviet forces weren't in a rush to show themselves, I brought up a platoon of Sdkfz 221's to reconnoiter the town. The Germans couldn't wait too long, as the Soviets had dialed in the center company's location in the woods with their mortars. 


And lo-and-behold! They managed to spot an infantry platoon and an anti-tank gun. 

With some Soviets finally revealed, I moved the platoon of Panzer IIIs up to the woods, but they were quickly targeted by both the revealed anti-tank gun, and a second gun hidden in the opposite BUA.

I was certain that it was time to begin targeting Voin with the heavy artillery until...


At the very last moment of the night, Ted called in his reserves: two platoons of T-34s! 

This concentration of armor was a bold move, and with the German tanks spread out over a wider front, the Soviets had the advantage in a tank-on-tank fight. 

We called it at the end of turn 7, before the T-34s could really begin their attack. We'll reconvene this weekend to see if we can get to a decisive result. 

Wednesday, April 27, 2022

Painting Update - Romans, Dieselpunk

It's been a quiet month here on the blog. I haven't played any games and have been working on a couple small (literally) projects here and there. 

Hopefully things will pick up again soon. 

In the meantime, here's a update on what I've painted.


Strength & Honour, the new set of Ancients rules from Reisswitz Press and TooFatLardies, was released on Monday. I wanted to have at least my Romans done by then, so I finished the rest of the starter set I purchased at Historicon last year. 


Last year I wrote a blog article detailing my process to paint 2mm miniatures. Each base was quick to finish; I could usually complete one or two a day. 


The Roman forces I have so far consist of six Roman legions, two units of skirmishers, and a commander. Plenty to play a game with, but I'd like to have more options for variety's sake. The rulebook has a scenario for the Battle of Chaeronea, in the first Mithridatic War, which would be perfect for my Pontic starter army to expand with as well. 


For fun, I started a 6mm dieselpunk project. It's been an idea I've kept in the back of my head for a while now, and I wanted to throw some support to Microworld Minis and their great Stahlritter tanks.  


I can see these being use alongside Baccus' WW1 range, as I'm picturing a conflict with technology equivalent to early WW2 Europe, or even a WW1-esque setting without trenches. 

Wednesday, March 30, 2022

Painting Updates - Romans, French-Indian War, Battletech

Here's what I've been painting.

Work continues on the Punic War Romans. With two commands of actual Romans finished, I wanted to incorporate a command of Italian Allies. 


From the Warprinter "Hannibal vs. Rome" Kickstarter, these minis are Etruscans and Samnites, which gives them a visibly distinct profile compared to the Romans. 


In game, these medium infantry units are somewhat less effective than their Roman counterparts (lacking the Pilum and Drilled special rules), but can still hold a flank as the Roman Legions push forward. 


I also gave them units of archers for their skirmish infantry. They have longer range compared to the Roman Velites, but are less effective in close combat. 


While reflecting on what I had done so far, I thought that the shields on the finished Roman infantry were a little bland, so a couple quick lines with some acrylic pens gives the impression of shield designs. It's a little rough up close, but at arms length it works nicely (in my opinion, at least!). 


I've got a small collection of 28mm French & Indian War miniatures that haven't seen much use in some time (apart from a solo test game of the second edition of Muskets & Tomahawks at the start of the Covid pandemic). They could be used with Sharp Practice, but I'm far more interested in using 15mm miniatures for them, which would be a return to a project way back at the start of the blog. 

I reached out to a wargaming friend my an old group who's also a FIW enthusiast, and he's willing to buy them from me. All of the military units were painted apart from a set of eight British Regulars, so I said I would finish them off before we made the exchange. 


Rounding out this eclectic mix of finished miniatures is another Star for my Clan Jade Falcon force. Unlike other Stars which come from the official boxes, this Star is the result of the blind-box 'Salvage Boxes' that Catalyst released from the Clan Invasion Kickstarter.

I'd call it an ad-hoc Star, but that's already a box set. Maybe an Impromptu Star?

The two medium-class mechs are an Ice Ferret and a Viper.


And the other three heavy-class mechs are a Hellbringer, Mad Dog, and a Pryde variant Timber Wolf (which gives it some useful jump jet movement).

For this Star, I wanted a more mute color scheme compared to the screaming eye sore of the previous mechs. 

Wednesday, March 23, 2022

Corpse Flower Wars - Mythic Americas AAR

This past weekend Sam and I met up for a game. 


Having received his painted Aztecs for Mythic Americas, Sam was looking to finally plaay his first game with the rules. So I brought out my own Aztecs for a 1,000 point mirror match. 


We played the "Build Altars for the Gods" scenario, which works as a good introduction to the rules. Both sides scores points for building altars on the enemy's side of the table, and knocking down enemy altars on their own sides. 

We set the table up as a sort of jungle temple which worked out well. 


Both sides sent most of their forces to the center, with some light skirmishing on the flanks. 

I was looking forward to seeing how some of the recent changes to the rules (the removal of the Monstrosity table, giving Monster units the options to buy more wounds) would work in-game. 


Sam obliged by charging his Quetzalcoatl into my Ayar!


And the feathered serpent was brought down from the skies by the undead monstrosity. 


My victory quickly soured when Sam broke my (arguably) star unit of 2 Wound Tlalocan-Bound Marauders after just two combats. That was a mistake on my part, as I had a Blessings card that could have stopped that if I hadn't already played one earlier in the same turn. 


And unfortunately my left flank was shattered with both units of Jaguar and Eagle Warriors fleeing for their lives. 


Late in the game, Sam was the first to finally construct an Altar. With no units to contest it, I was hoping to get my own Altar built in the center, but Sam's lone Marauder was able to push back my Bound Dead to my side of the table. Meanwhile my Ayar ambled off to (hopefully) block Sam's units. 


The numbers on my side were quickly dwindling, and Sam had plenty of activations compared to me. My Ayar was also taking hits and was only down to a single Wound left. 

Unfortunately, a risky gamble didn't pay off when Sam charge a Bound Dead unit into my Warlord, and the High Priest was killed. With my own Bound Dead unit failing its order test and going Down, I conceded the game to Sam as I had no units left that could build Altars and contest Sam from doing the same. 

So the game ended 0-1 with Sam's warband winning. Neither of us managed to score any points from our Devotions (I'm never picking terrain specific Devotions again, as I have a tendency to pick pieces that my opponent heartily defends). 

I did learn a few things from this game, however. The new Monstrosity and Magic rules (that remove their respective charts and the Wild-Bound-Allied system from Erehwon) are great. With my limited experience, the Monstrosities are more likely to stick around instead of being lost to a random chart result. And the added wounds to Monster units do a lot for their viability. I can see Monster units in one of two functions; Units with less models and double wounds for durability, and units with more models and single wounds for offensive strikes. Four model units with double wounds may be a good middle ground, but they're expensive and can still be lost to a single failed break test, like mine were during this game. 

That said, Sam and I enjoyed the game. Sam's looking to either pick up Inca or Inuit, while I'm going to focus on my Maya after a brief Battletech painting interlude.