Wednesday, June 3, 2020

Miniature Musings - Tabletop Simulator

I haven't played any more solo games, and my painting progress has slowed a bit so that I don't have enough to justify a painting post. 

I have, however, been fooling around on Tabletop Simulator. 

While the restrictions around the pandemic have been loosening (to where we'll be able to game in stores again mid-June, it looks like) plenty of people have had the time and inclination to hone their skills and develop more modules. 

For those of you who aren't aware of Tabletop Simulator, it's basically a physics engine designed around board games. It doesn't have any actual assets beyond the basics like Chess or Checkers, but it does allow users to import files of their own. These can be self-designed playing pieces, high-res pictures, or lines of code that actually follow the rules of the game. However, most of the time it's on the players to know the rules. 


As an example, this is a fantastic module for To The Strongest that features pre-made armies themed around 1066 England.


Each army has appropriate units, army lists, markers, tokens, and card decks to play with.


As you can see, I set the game up to look like a turn is being played. Thanks to TtS! grid-based movement, it's very easy to move troops around the field. There's also ten different pre-made terrain setups for the map.


There are plenty of modules for other games as well. This is a setup for the first scenario from Rangers of Shadow Deep.


There's a DBA 3.0 (and a 2.2) module.


There's even a X-Wing: Heroes of the Aturi Cluster module! It's a little busted at the moment since Tabletop Simulator updated, but I'll keep an eye on it for when it's hopefully fixed.

You can get Tabletop Simulator for $20 on Steam. There's officially licensed board games that you can pay for, but a lot of the modules are available for free.

Wednesday, May 20, 2020

Painting Update - ACW, AWI

The lockdown continues, and so does my painting progress. 


I had to wait for a delivery from the UK to call them complete, but the flags from Wargames Design look fantastic on these 10mm Union troops for my American Civil War project. These are two of the eight regiments of infantry I've done for the Union, and I'm working on an equal amount of Confederate troops.


Also finished are the limbers for the Union artillery. These are from Old Glory, and I'll be using a second pack for the Confederate guns.


I also went back to my 15mm American War of Independence project for Rebels & Patriots. With the Continentals finished, I started work on the British.


The bulk of the British force is made up of three units of Line Infantry, with green, blue, and yellow facing.


I plan to paint the Light Infantry and Grenadiers with facings from these three units, as these units were usually combined together from their parent regiments to act together. The scale will be a little off, but I'm expecting it to look good.

Wednesday, May 13, 2020

Red vs. Blue - Triumph! AAR

A little while ago I saw that the print version of Trumph was finally released. 

Triumph is an attempt to capture the speed and relative ease of play of De Bellis Antiquitatis, but written in English instead of "Barkerese." Other difference between DBA include a system of army building, more troop types, and a randomized placement of terrain. 

Having played the game before, using the in-development PDF rules, I found Triumph to be a fun game that delivered on its promise. 


The print version of the rules is a full color, coil-bound book. The text is easy to ready, there's plenty of pictures and diagrams, and the layout is fairly easy to follow. It even has a detailed table of contents and an index!


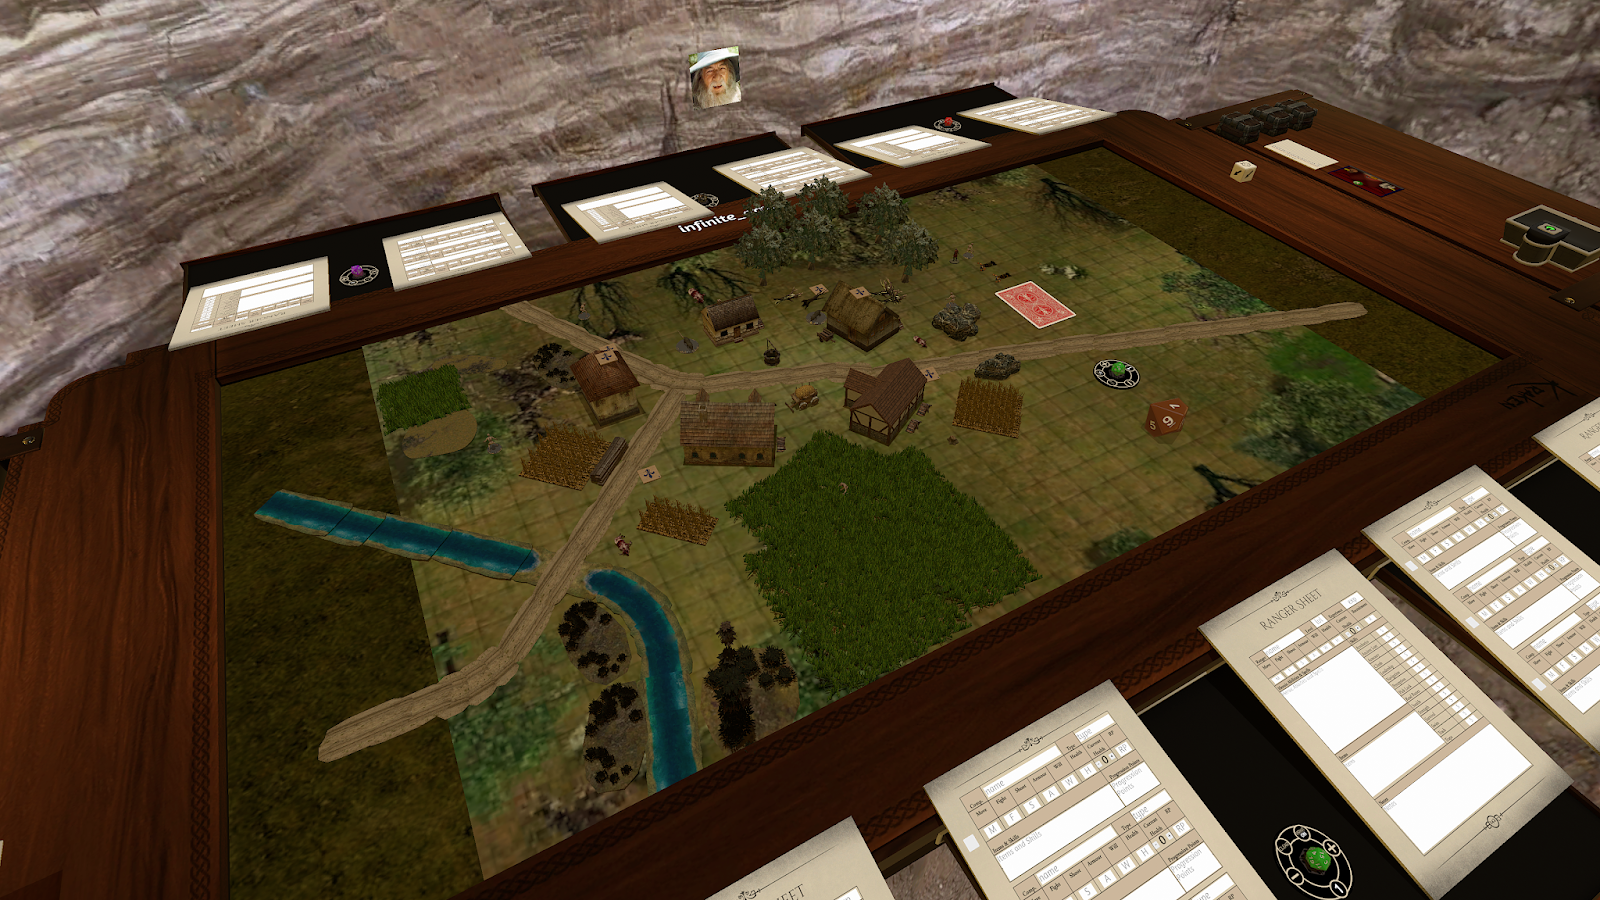
My two armies for these solo game have been adopted from a couple of demo armies that WGC produce for Triumph.

The Military Order of Azool represents a professional army of quality troops.


The opposing force is a raiding clan from the Rojon Mountains. The Rojonite army prefers quantity over quality, but has a potentially devastating punch from their woolly mountain elephants.


One of Triumph's mechanics that I've talked about before is the randomized terrain placement. All armies have an Invasion Rating and a Maneuver Rating. To determine the terrain on a table, both players first roll a die and add their Invasion Rating. The battle takes place in the home environment of the losing army.

Both players then roll a second die and add their Maneuver Rating. The winner of this roll-off is the attacker, and gets to select the terrain and also gets the first turn. This player assigns a number to each terrain piece (as well as whether or not to take a road, stream, or coastal area), then rolls on a d66 table that shows where each terrain piece is placed

I really enjoy this system, since it removes some of the fiddly bits of terrain placement that other games have.


For this battle, the Rojonites won the Invasion roll, while the Azoolians won the Maneuver roll.

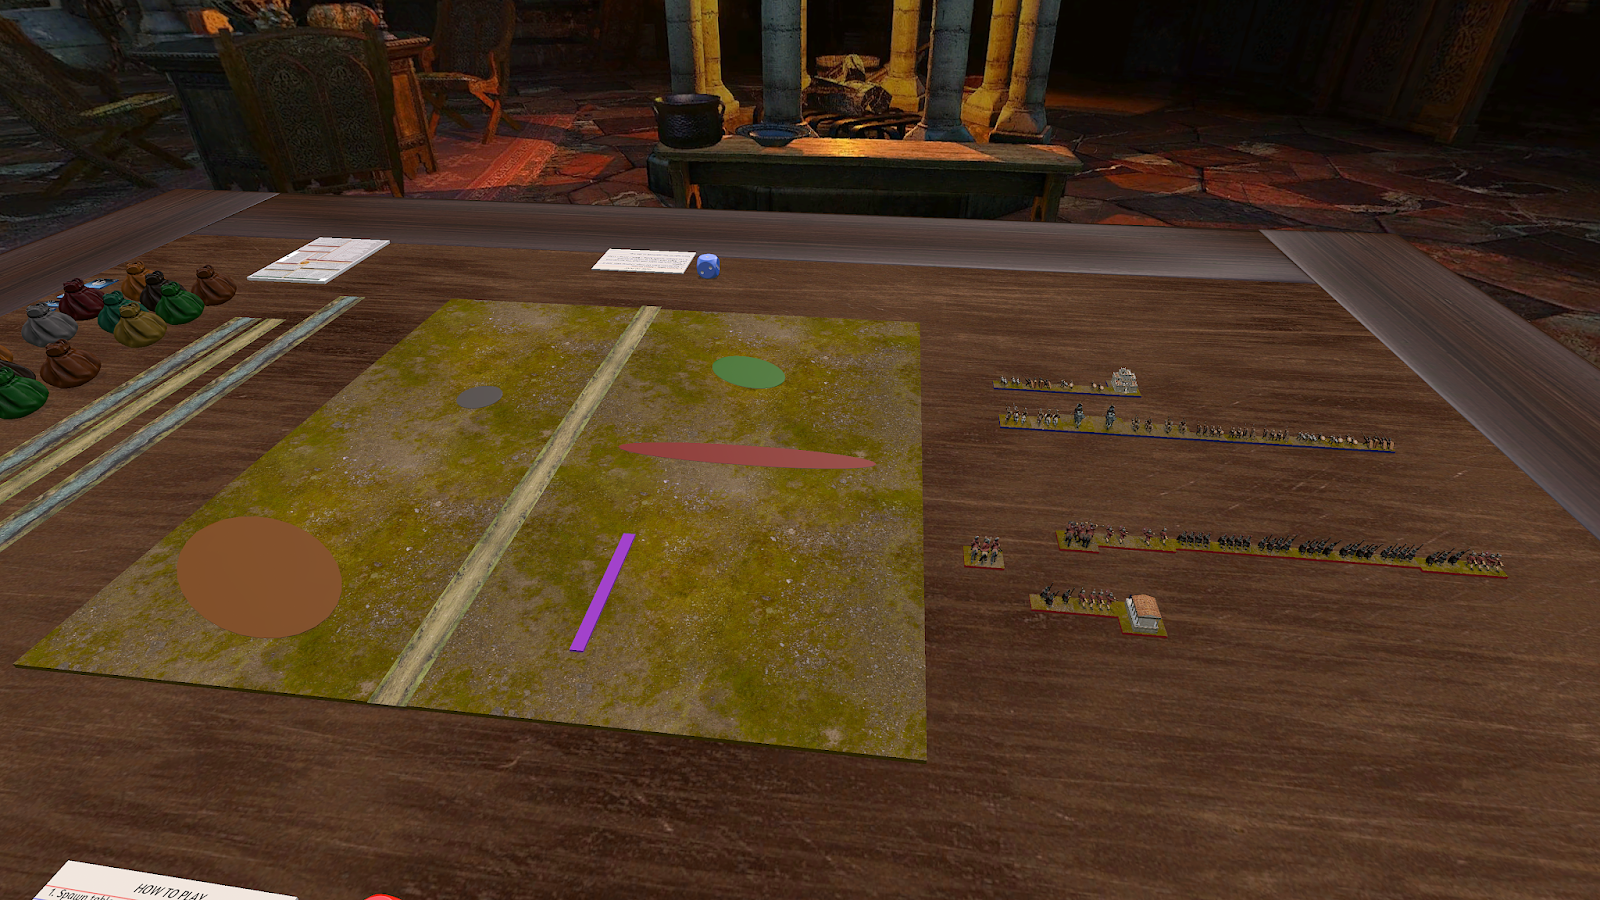
This placed the battle in the forested homelands of Azool, with a mix of Forests and Marshes.

The Rojonites were in three battlegroups, with a main battleline of Warriors, Warbands, and Elephants. Their Rabble cowered in a forest, while a second line of Warbands waited in reserves.

The Azoolians formed up in two groups of mixed raiders and archers, with knights and their artillery on either flank.

The goal of Triumph is to be the first to remove 16 points (a third of a 48 point army) of your opponent's army, while losing less of your own.


The first turns saw both sides advancing towards each other, as most of these games do.


One group of Azoolian Knights swung around to cover the Rabble in the forest. On the other side of the battle, the Rojonite Elephants were forced back from artillery fire.


As the two sides closed, the Rojonite ranks were somewhat jostled by Azoolian arrows.


Undaunted, the mountain clans and ranks of soldiers finally clashed. One unit of Rojon Warband was the first to be destroyed.


The officers of the Azoolian Military Order called out for order and reestablished their lines, causing more Rojonite Warbands to collapse and flee the battle.


In a momentary surge of elation, the Rojonite warlord and his warriors seemed to punch a hole in the Azoolian lines. If they could keep the momentum up, this break could be exploited for a devestating victory.


However, the attack somehow stalls. While the Elephants reach (and easily wreck) the Artillery, a unit of Knights flanks and panics one of the Rabble units in the woods, destroying it in return.


While the Azoolian Archers can't score a hit against the Elephants (which started to lumber towards the enemy camp), a flanking manevuer by the Raiders in the center was enough to destroy a unit of Rojonite Warriors, which placed them over the 16 point limit and ended the game!

Not exactly the most riveting of games, but it was a good reminder of how Triumph played, and solo action still looks to be my only source of gaming for the time being.

Wednesday, April 29, 2020

Painting Update - AWI, FIW, Badgers & Burrows

I've kept up the painting during the shutdown, working on various projects in parts as I go along. 


I finally finished the last of the Continental force for my 15mm AWI project using Rebels & Patriots. These are two units of skirmishers which can be used either for small units of Minutemen, or the riflemen that became the bane of British officers during the war.

Speaking off, the British half of the project will be the next block of minis to tackle.


I've also had a unit of 28mm Compagnie Franches de la Marine from Sash and Saber's French-Indian War kickstarter sitting around, so the quarantine gave me the chance to paint them. They're great miniatures with plenty of detail.

Search Results

Web results


I also received my pledge for a Badgers & Burrows kickstarter I backed last year. I had been intrigued by the game in the past, and the kickstarter was the perfect chance to jump in.

While I've split most of the minis into two warbands, I had a few models left over. These included the three extra stretch goal models - a weasel sports player (which looks to be based on hurling), a burrowing mole, and a ghostly Mist Ghast - along with a Large Raptor.

Wednesday, April 22, 2020

A Lonely Walk in the Woods - Muskets & Tomahawks AAR

With the SJGA and other local opportunities for gaming shut down, I decided to run myself a small game of the new edition of Muskets & Tomahawks. 


Since my gaming space at home is limited, I decided to play a simple 300 point game on a 3'x3' table.

The French attackers had a Canadian Officer, two units of Canadian Militia upgraded to Coureur des Bois, an Indian Sachem, and a unit of Indian Warriors.

The British Defenders had a British Officer, two units of British Regulars, a Ranger Officer, and a unit of Rangers.


Since this was a solo game, I decided to add a little uncertainty to the unit activations. Normally, each player in M&T draws three cards. For this solo game, each side had three cards placed face down. I rolled a d3 to determine which card would be used. I could, however, supersede this with Command Points if it would be beneficial to a combatant.

Both sides were using the Battle scenario, which meant that had to reduce their opponent's model count by half to win. The British had 26 models, and the French had 24.


The game started with the Canadians and Rangers creeping through cover, hoping to spot the enemy first.


Thanks to the random draw, it was the Rangers that managed to fire first. They caused three casualties, and the Canadians were forced to take a Reaction test.


I ended up rolling a 0, and thanks to the relevant modifiers, the Canadians immediately routed! This already placed them at 2/3 of the way to losing the game.


It wasn't going much better for the allied Indians on the other side of the settlement, as a blistering hail of lead from the Regulars (and another bad die roll!) saw them flee back into the woods.

Luckily, their Sachem managed to turn the fleeing warriors back around before they could go any further.


The Canadians had their chance to finally answer the Ranger's fire with a volley of their own. Two rangers were killed, but a result of a 0 on the reaction test (I will never use these dice against an actual person!) saw the rangers take flight further in the trees. Like the Sachem, the Ranger Officer put a stop to that.


Speaking of the Natives, a lucky couple draws and some Command Points placed the natives directly in front of one of the British Regular units, after having shot one down. With a lucky flip of the cards, the tomahawk-wielding Indians would be able to splash a little red on the nearby building.


However, a couple card flips saw all three of the clock cards finally drawn, ending the first turn.


And the first flip of the new turn was a British Regulars card! This gave me the oppurtunity to try out the new Volley Fire rules, which uses a designated area directly in front of a unit in Close Order to see who's hit. On a roll of 0 (or 0s and 1s if the firing unit is in two ranks) any model hit immediately becomes a casualty!


Two Indians fell under the volley, which was enough to hit the 50% mark and end the game with a solid British victory. 

Here's three of my major takeaways from this solo game:
  1. Overall, this still feels like Muskets & Tomahawks. The flow of the game and the base mechanics haven't changed so radically that it will mess with players of the original version. The first few games may go slow to get some of the detailed changes down, but it should pick up from there. 
  2. Command points are great. In this game I only used them to activate units, but this still made for some critical turning points, letting me fire, move, or reload the guns of a certain unit. It will be interesting to see them expanded upon in larger games against actual opponents. 
  3. Volley Fire is one of those changes that does need reconsideration. In the previous version, it just meant a bonus to shooting and a negative modifier to a unit being shot at. In the new version of M&T, it's essentially a template than can be anywhere from about 3"x16" to 8"x16" with a 1/5 chance of killing a model, and a guaranteed Reaction test against any units in the line of fire. That's huge! While larger units of Regulars in Close Order will be more resilient against the shock of a volley, units of Irregulars, Militia and Indians will need to be mindful of just how big that template can be.
    There are, however, two drawbacks to Volley Fire. First, any models under the template are hit, so make sure there's no friendly unit just beyond the enemy if you're going to use it! And units using Volley Fire will receive two Fire tokens, meaning they'll have to reload twice before being able to fire again. 

I'm sure I'm missing nuances, and like most games not directly supported with solo rules, the experience did ring a little hollow, but I still enjoyed the experience and I look forward to when I game with other people again.