Wednesday, April 11, 2018

Cold Wars Open Event, Game 4 - DBA AAR

In the last game of the Open Event, I faced Mike D and his Warring States Chinese again. 


As the attacker, I watched as Mike placed down two plough, two difficult hills, and a river. I decided to set up so that the river would split our armies in two.


Both sides advances cautiously, now aware of the other's capabilities after the result of the first game.


I decided to push on the right, hoping I had the advantage against Mike's troops. However, I only managed to recoil his line.


On the next turn, I swung my main line into battle, and removed one of Mike's crossbowmen.


While our lines pushed and shoved each other, Mike removed an auxilia from my right.


In one desperate push, the game ended. I lost a light horse and a cavalry from my right flank. On my left, however, I not only managed to sack Mike's camp, but I also killed his general, a unit of blades, and a unit of light horse. The Avars secured their first victory, 6-3.

Friday, April 6, 2018

Blood in the Banakur - Shatterlands AAR

While at Cold Ward, I got the chance to take part in a demo game of Shatterlands, by Stonegate Forge. I found the setting intriguing, the miniatures fantastic, and the rules to have some rather interesting mechanics. So my loot pile at the end of the convention contained the starter sets for the currently available factions. 

After getting the Rapani warriors and Dumah rangers painted up, I put on a demo game at Half Day Studio


The mission was a simple random encounter with each side taking two miniatures per player. I had picked out five miniatures with 2 Initiative each on both sides for the players to chose from, which made it an 8 point game.

As you can see, "terrain" in Shatterlands comes in the form of three types of terrain tiles - brush, trees, and rocks. These affect the kind of dice added to determine hit locations when models fire at one another. From what we've seen, Shatterlands is a game that needs a lot of terrain - models caught out in the open are much easier to kill.


With a few lucky draws from the Initiative Deck, the Dumerai managed to get halfway up the table, into cover, and ready for any Rapani moving onto the board.

This may have been a mistake, however, as the Rapani were able to dash through the trees, avoid the Dumerai rifles and Kesbinets (crossbow/carbine combi-weapons), and close for hand to hand combat.

You may also spot a lot of colorful dice on the table. Shatterlands uses RPG dice, associated with certain colors, to denote various qualities. It basically follows ROYGBIV - a trait marked with a red dot on a character card rolls a d20, while a trait marked with a purple dot rolls a d4. And you want low numbers in Shatterlands.


The Dumerai found themselves being pushed back as the Rapani were able to quickly advance. It also didn't help that the rangers couldn't spend their actions to reload their guns, while the Rapani could fire their bows without pause.


However, as both sides began to take wounds, their Squad Morale decreased, making certain actions more difficult. It also didn't help when one Rapani warrior rolled high during his Sprint action, leaving him stranded in the open.


For a moment, it seemed that the Dumerai might turn the fight around, as two of the rangers ganged up on a lone Rapani warrior, who was incapacitated, causing a big morale hit and stunning several of the other Rapani.


But before the Dumerai could capitalize on the advantage, the Rapani rallied and assaulted a Dumerai rifleman. The ranger couldn't keep the Rapani knives from scoring deep cuts into his flesh, and his comrades watched in horror. Unable to assist, this caused enough morale damage that eventually all the ranger could do was flee, which caused a series of cascading morale failures that saw the Dumerai force run from the table.

It was a fun game, and both sides enjoyed playing. It was also interesting to see the after game, where the surviving characters (and others that gained experience) improved their skills. That's another interesting aspect of Shatterlands - character cards are printed on lottery cards, and as they take injuries and gain experience, you scratch off circles to change the dice they roll when taking actions in the game.

I'm hoping to get this to the table again, especially since I also purchased a scenario book while at Cold Wars.

Wednesday, April 4, 2018

Cold Wars Open Event, Game 3 - DBA AAR

My third game in the Open Even was against Mike G, the event organizer, and his Qaramita. This brought back memories from last year, when Chris and I played in a double tournament for ADLG using the Ancient Bedouins, with our goal being to get as many camels on the table as possible.


Once again, I won the roll for attacker and Mike set up the table. He placed down three dunes and a difficult hill.


I could only watch as the massive line of camels came towards me, completely unhindered by the dunes.


I was basically stuck trying to fight three battles - one in the center, and two in each of the dunes. Thanks to the distances between the dunes, I was overlapped in multiple places and lost a stand of auxilia.


I then lost a unit of cavalry, which left my general exposed.


While I managed to get another unit of cavalry up to support my general, Mike began to turn my left flank, removing another stand of auxilia.


And, finally, Mike caused another of my cavalry units to rout, ending the game with a solid 4-0 victory to the Qarmatians.

Friday, March 30, 2018

Zen 10 Challenge - Test of Honour AAR

This past weekend, Bill ran an event for Test of Honour at Half Day Studio. Each player would bring along a 24 point list and play in up to three scenarios, each with a different points level and objective. 

As one person unfortunately couldn't make it, Bill decided to step in to even up the number of players. 


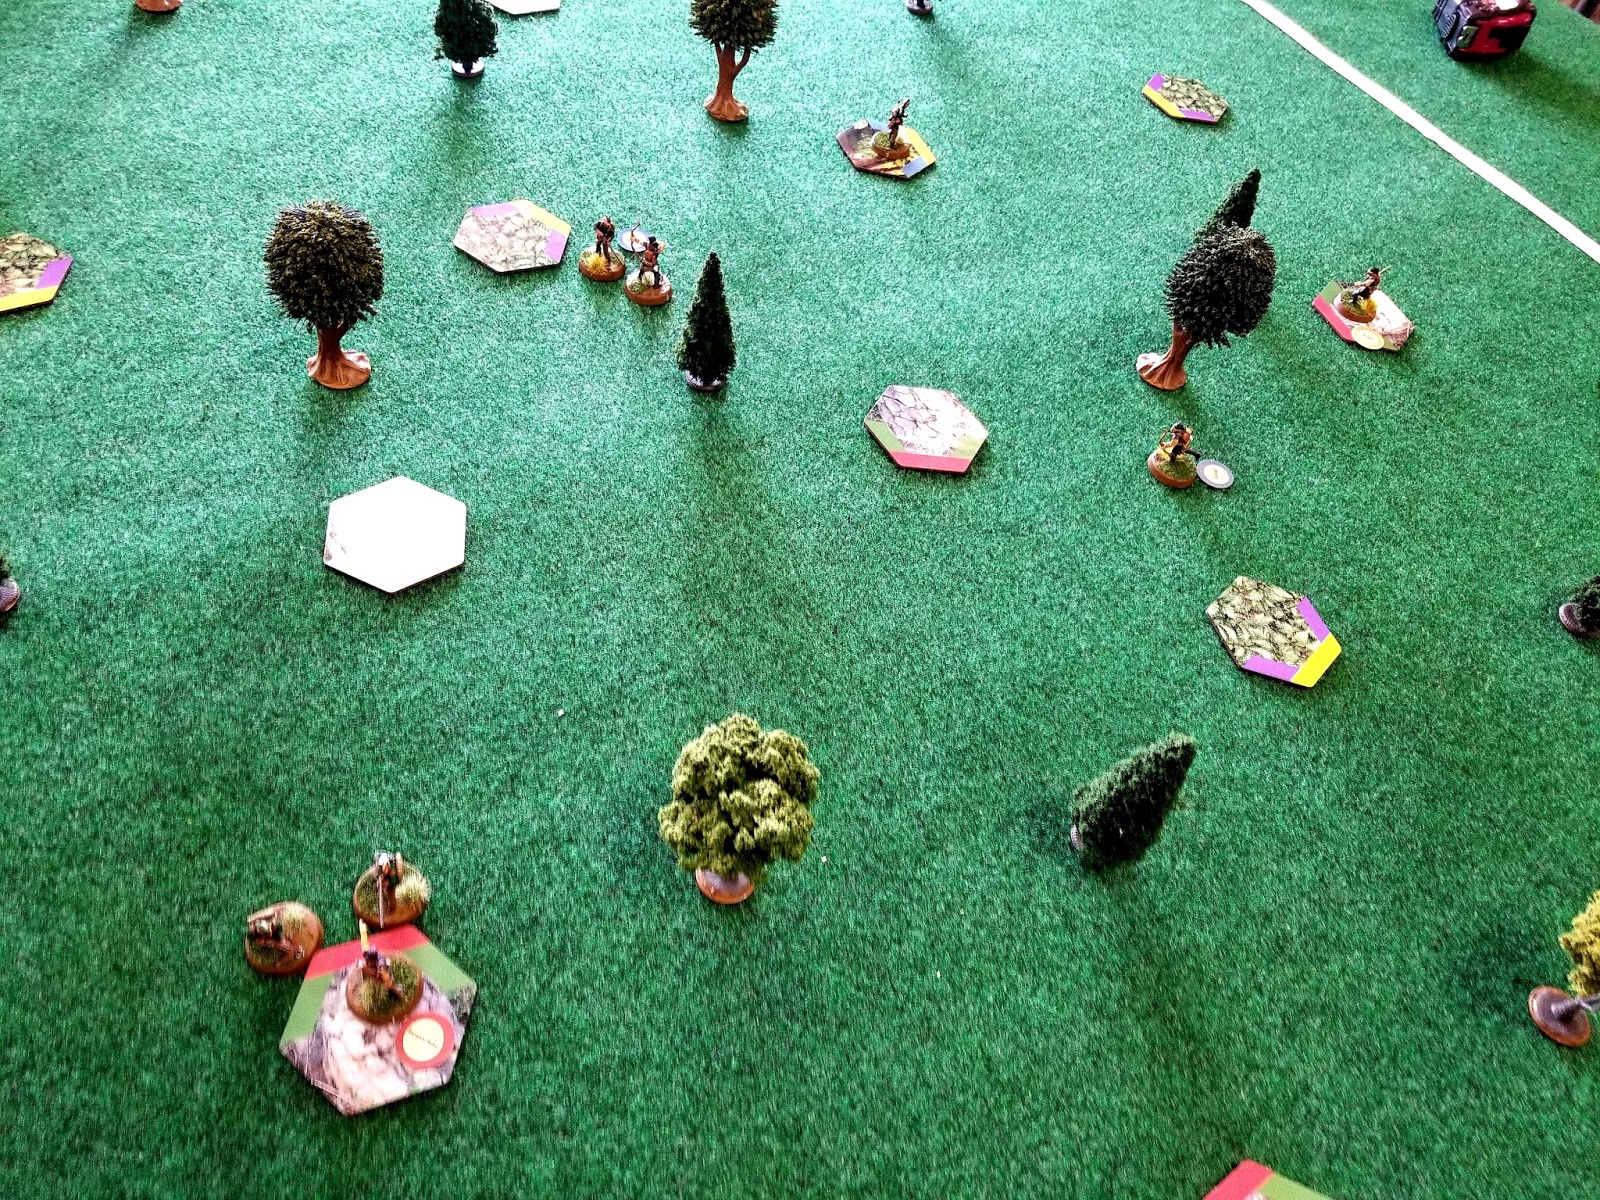
My first game was against Sam, in a 15 point game where the objective was to control the bridge at the end of five turns.

Our warbands were identical - a Hero Samurai with an accompanying samurai, along with a Sergeant of Archery and a Bowmen group.


Both sides had their samurai advance to the bridge while the bowmen engaged at range.


After a flurry of blows in a ferocious melee, Sam's Hero Samurai took a heavy wound and failed his Test of Honour to continue on. As his blood dripped from the bridge to the river below, I declared victory.*

*Which, to my great shame, was wrong. Technically, the game should have continued to turn 5, but I made the mistake of assuming that a lost Hero Samurai caused the warband to flee. Not catching that turned out to be a bigger problem than expected...


My next game was against Bill in an 18 point scenario in which the two opposing sides would need to capture the retainer, who was resting at the entrance to a shrine. The game took place in darkness, and only the area between the fences was considered illuminated by the moon - although the lanterns to either side of the gate also provided light.


Poor luck on Bill's part meant that when his Hero Samurai failed her test to take control of the retainer, he fled directly towards my own warband. My Hero Samurai passed the test and led the retainer deeper into the woods.


With the objective in hand, my warband stipped their advance and began to target Bill's Hero Samurai with ranged attacks, hoping to kill her and end the scenario quickly (like I said, problems...). Bill continued to advance, hoping to get past my two samurai and retake the retainer.


However, that put Bill's Hero in range of both of my own samurai, who teamed up to strike her down. Again, I thought this ended the scenario, which was reinforced by Bill's concession. The only consolation to this mistake was that it was unlikely that Bill's commoners could take down the two samurai in the remaining turns, thanks to the differences in action amounts and abilities scores.


The last game was against Kai, and we were back at the bridge-control scenario (which Kai hadn't played yet. This meant that I didn't get a chance to play the 24 point scenario control objective game).

A feature in this tournament were quest cards. Players weren't supposed to have any in their skill decks - instead, each table had its own objectives. For this game, each player was supposed to draw a quest. To my great misfortune, I drew the quest which meant I had to play with 13 points instead of 15. This meant I had to drop my Sergeant of Archery from the game.


I played conservatively with my points and activation disadvantage, which was likely a mistake. Kai managed a long range shot that took out one of my bowmen


Kai's Samurai Hero quickly charged over the bridged and cut down my supporting samurai.


Now it was a two-on-one fight, with my Samurai Hero desperately trying to fend off both of Kai's samurai.


Kai also brought his lone spearman over the bridge, as if I didn't have enough problems as it was!


My only hope was to move my Samurai Hero onto the bridge and hope to contest the objective and end the game in a draw. However, Kai's Samurai Hero cut down both of the remaining bowmen, causing my Samurai Hero to take, and then fail, a Test of Nerves, which forced him back off the bridge and into the river.

Kai's Samurai Hero, scoring a critical success on the last damage roll against the bowmen, used the Follow Up move to get onto the bridge, securing both it and victory.


The final game was a 10 point battle royale between the four warbands.


While I advanced cautiously, the rest of the samurai quickly moved to the center of the table.


Kai's samurai was the first to be cut down, causing his warband to flee the battle (yes, that was actually in the scenario's rules this time!).


Sam's samurai exchanged blows with Bill's before a failed Test of Wits meant that my musketman targeted Sam's samurai instead of Bill's, breaking our under-the-table truce. While Sam's Samurai Hero slew my musketman, the warrior fell to a lucky set of rolls from my Bowmen.


The next few turns was spent with my own Samurai Hero trying to strike a fatal blow against Bill's. However, I failed, and my Samurai Hero was cut down like a bamboo stalk, leaving Bill's warband victorious.

With all the games over, and the points tallied up, the winner of the event was... Bill! Since he was the one running the event, however, the title went to the person next in line... me! Regardless, Sam, Kai, and I each got a chance to pick from the prize pull. I decided to grab the Ninjas of Iga boxset, as it would allow me to run a Ninja warband in future games.

I had a great time. Bill's scenarios were cleverly planned out and his tables filled with appropriate scenery. While it may be time to put Test of Honour away for a little bit, I'm looking forward to revisiting the game in the future and seeing what other expansions Warlord has planned.

Wednesday, March 28, 2018

Cold Wars Open Event, Game 2 - DBA AAR

My second game in the open event was against Terry, who had brought his Medieval Germans.


I won the roll for attacker, and Terry put down two plough, a difficult hill, and a road.


My advancing line was fractured thanks to all the firepower Terry's Germans had. Meanwhile, my Light horse had managed to pull two Knight Hordes and a Light Horse away.


However, that didn't help much, as I lost both units of Light Horse and an additional two units of Cavalry, in exchange for a single Knight Horde. This ended the game with Terry's win, 4-2.