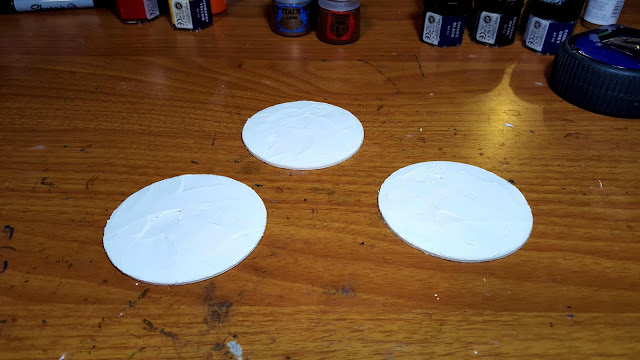
My recent experience with terrain in Guild Ball really has me fired up to get some of my own terrain for use with the local players. So, after making sure I knew what the official terrain rules were, I headed out to one of the local craft stores to peruse their shelves and see what I could find.
I found a baggie of thin wooden shapes - the last one! - and found, after some measuring, that the circles were perfect for what I needed. This gave me four 4.5" circles, four 2.5" circles, and six 2" circles. That's enough to cover two Guild Ball pitches in the maximum allowed amount of terrain (seven pieces).
So, I planned to have:
1 Forest (restricted to one, maximum 6" area)
3 Rough Ground (maximum 6" area)
1 Barrier (restricted to one, maximum 3" area)
3 Fast Ground (maximum 3" area)
6 Obstacles (maximum 2" area)
The Barrier started pretty simply, with blocks of sticky-tack glued together to form a wall. Mist is here to show the height.
Here's the result after painting, basing, and varnishing. It's not perfect, but it'll work. The sticky-tack has also become much less malleable during the process.
The Rough Ground each had pieces of styrofoam glued down.
And then spackle was applied. I was aiming to show that there's uneven ground in these terrain pieces, while still allowing models to be places anywhere without falling over.
I did take a risk while priming these, knowing that the spray primer I was using wasn't water-based. The resulting melting, however, gave the styrofoam a much more natural look with less sharp edges.
For the Forest, I decided I could spare some trees from my collection, and added these to the base. They won't be glued down, however, so that way the trees can be removed in case a model needs to move into that particular section of the terrain.
The layer of spackle went on around the trees, leaving holes where they would go afterwards.
Some painting, flocking, and varnishing later, the trees still fit in place!
The Fast Ground pieces were probably the easiest to get ready. They just needed a layer of spackle to start.
And to finish, they were painted, washed, and then covered in a layer of Citadel's gloss varnish (I've used that varnish more times in this project than I had in the past year).
I actually forgot to take mid-build pictures of the Obstacles, but here's the end result - cubes painted to look like crates, and thread spools that (hopefully) look like barrels.
And here's the final result. Compared to the original image, I'd say it's a half-decent turn out for a couple nights worth of work.
Now I can finally get back to painting miniatures.


cool!
ReplyDelete